He occasionally blogs about software design, continuous integration and game development with Godot Engine.
Building a game from scratch in 48 hours
Between Friday 3rd-5th April 2020, German Rocketbeans TV hosted minibeansjam 5, a 48 hour gamejam. I submitted a game and managed to finish most bits right in time.
The purpose is not to win anything, it’s more a fun thing to do and it challenges your skills in time management, setting priorities as well as health care. (yes, you NEED sleep!)
Preparation
Personally, I need to be in the right mood to approach something like a gamejam. I am a quite emotional developer and if I feel down or unwell, my creativity kinda stalls. That’s why I don’t prepare for gamejams in general. As a general rule though, please consider the following before approaching any gamejam:
- gamejams are there to have fun. Do not stress yourself! I know it can quite daunting at first, however, we’re all in the same boat. Enjoy it!
- fix your sleep cycle! There is nothing worse than a broken sleep cycle. I know, people have their preferred time to stay awake (some people even like to work only during night). This is completely fine. However, make sure you keep it consistent, since otherwise you might oversleep on the last day and miss the deadline.
- stay hydrated! prepare yourself with your favourite drink (sparkling water or still water is my favourite pick) - this keeps the brain cells active and moist!
- Stay Away From Energy Drinks (SAFED)
- sharpen your tools on kick-off day, make sure you have everything already opened, preloaded etc. so you do not have to do it once the themes are announced.
- Together is Better! find people who want to do it with you. I promise you it changes the entire experience.
Interestingly, I purposefully did this game on my own. Initially, I was looking for a team but then I wanted to challenge myself: can I build a game including assets, programming, level design, game design, writing, sound design and music myself in such a short time?

Picking a theme
The theme has been announced around 6pm on Friday:
Der #miniBeansjam5 Countdown hat begonnen!
— miniBeansjam (@minibeansjam) April 3, 2020
Hier sind die Begriffe für das #GameJam Thema!
Wählt mindestens 2 der 3 Begriffe: Explosion, Elastisch und/oder Jenseits.
Die Zeit endet am Sonntag um 19:00 Uhr, also in 48 Stunden!
Viel Spaß bei unserem #GameJam!#gamedev #rbtv pic.twitter.com/5Rnw3iR1OM
For my all non-German friends, this basically says to pick one or more of the following themes:
- Explosion
- Elastic
- Beyond
The themes are not super strict but can be interpreted in any way. Their main purpose is to guide your imagination! The first thing I always do is creating a mindmap:
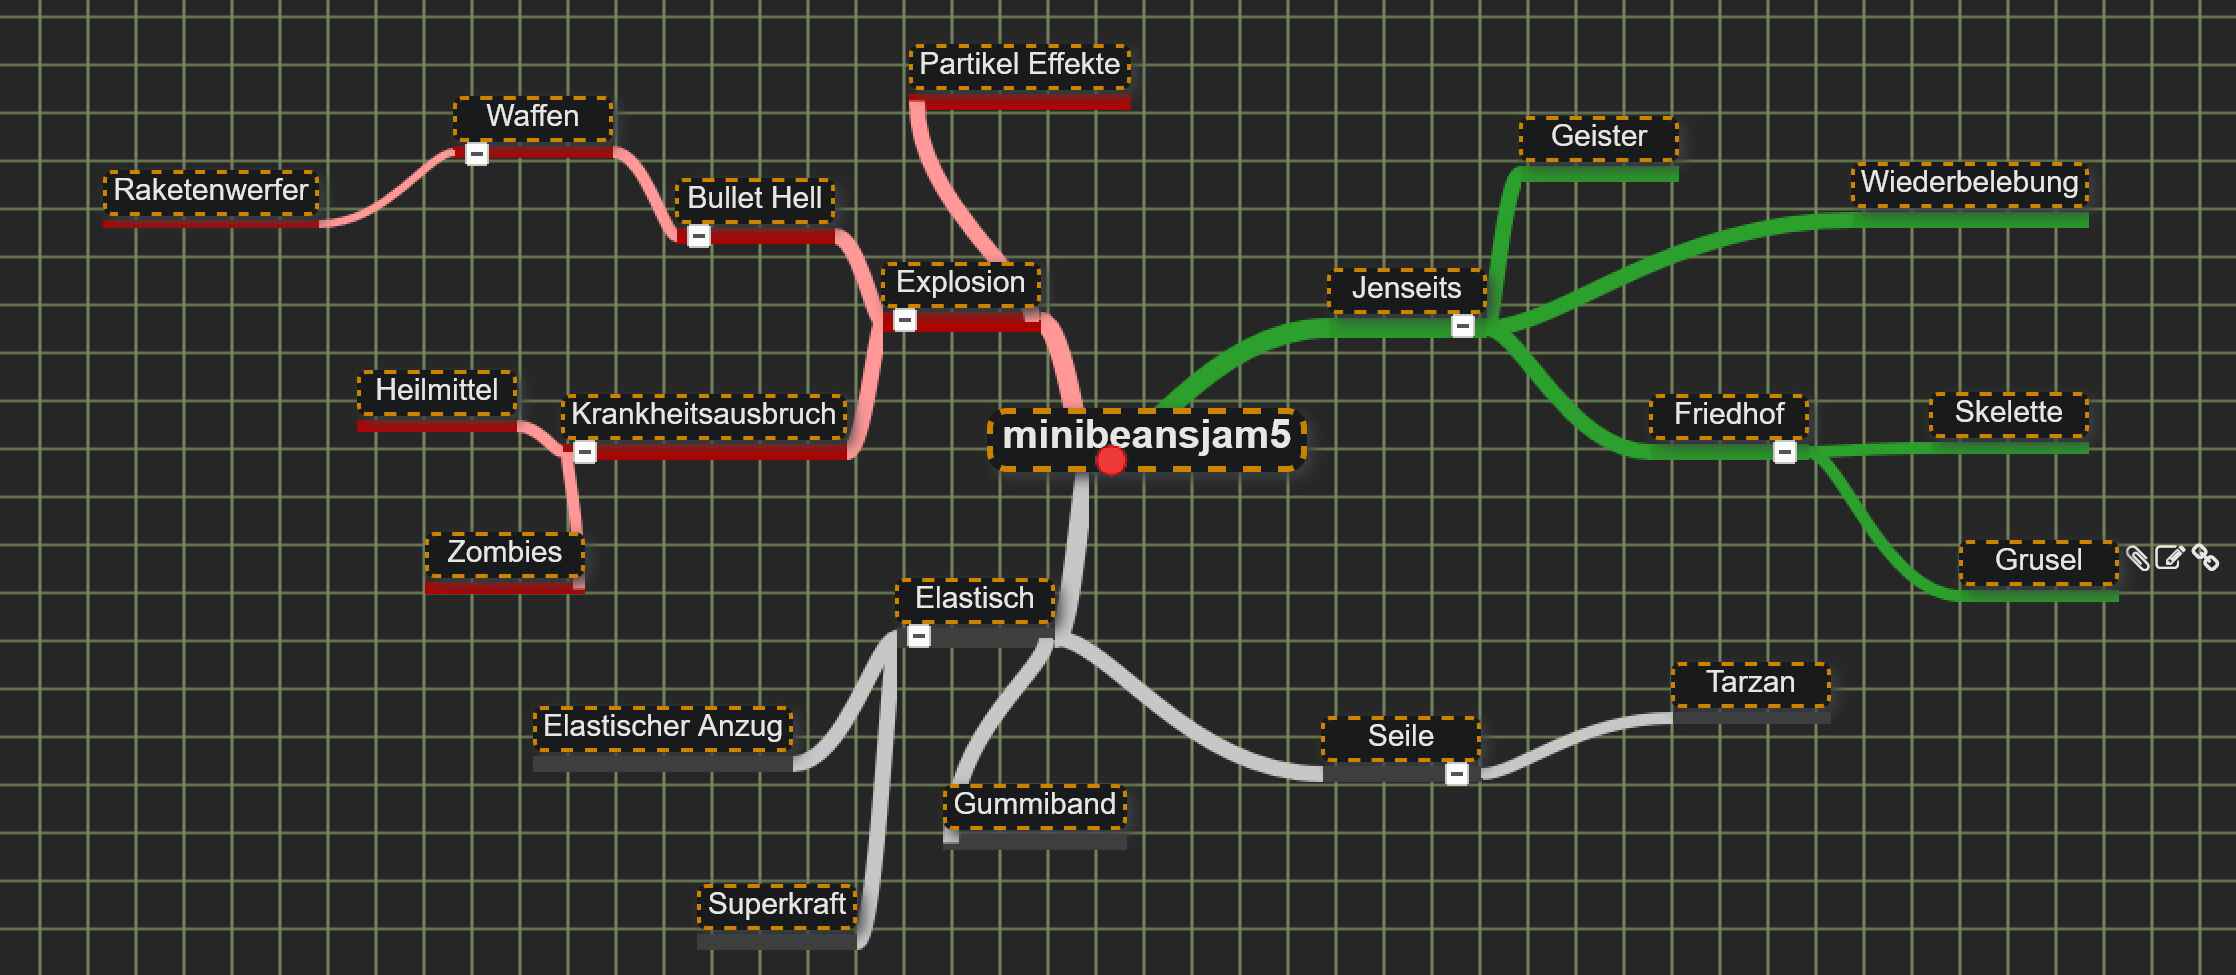
You can use whatever tool you prefer for this, after a quick Google search I found mindmapmaker.org.
I stared at my creation for a couple of minutes until I realised: I want to build a zombie shooter survival horror!
Setting up the project
The next step for me is to set up a project. Many people also do offline games (like board games) where this obviously is not applicable.
Version control
A version control system (VSC) like git helps you to track your changes over time. The idea is that every change you do to your project is stored in the cloud and can be accessed at any given time. For that, I use Github for that:
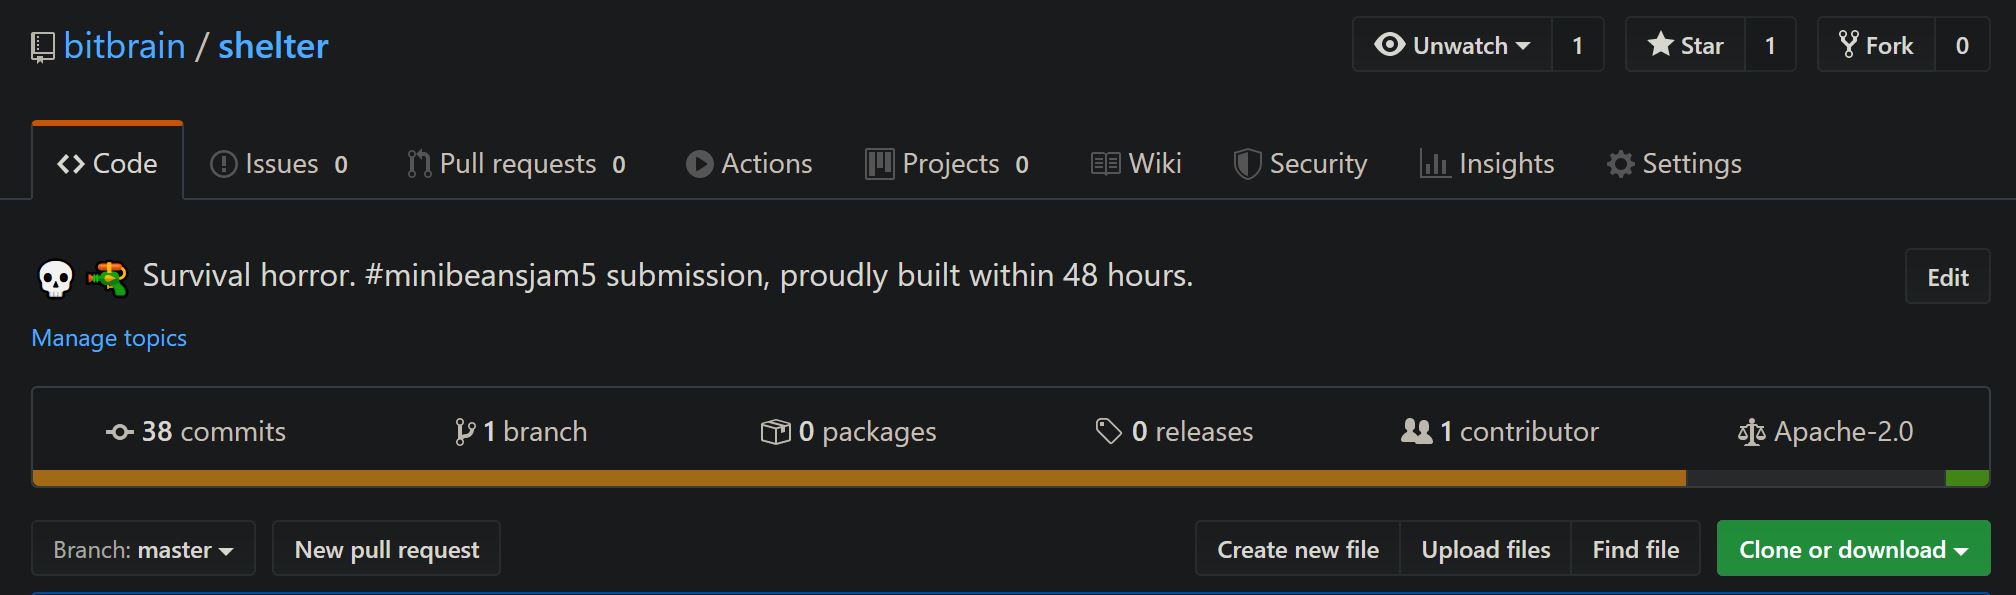
It is important to use a VSC since it can save you a lot of pain. Using something like Dropbox is very difficult once you want to play around with features but you do not have the concept of branches. Also, working with multiple people on the same file can be challenging with something like Dropbox. Version control becomes a MUST in bigger teams.
Generating the project files
Next up I generate the project. I build all my games in Java, more specifically with frameworks like libgdx and braingdx. Then I commit the changes to Git and push them to my Github repository:
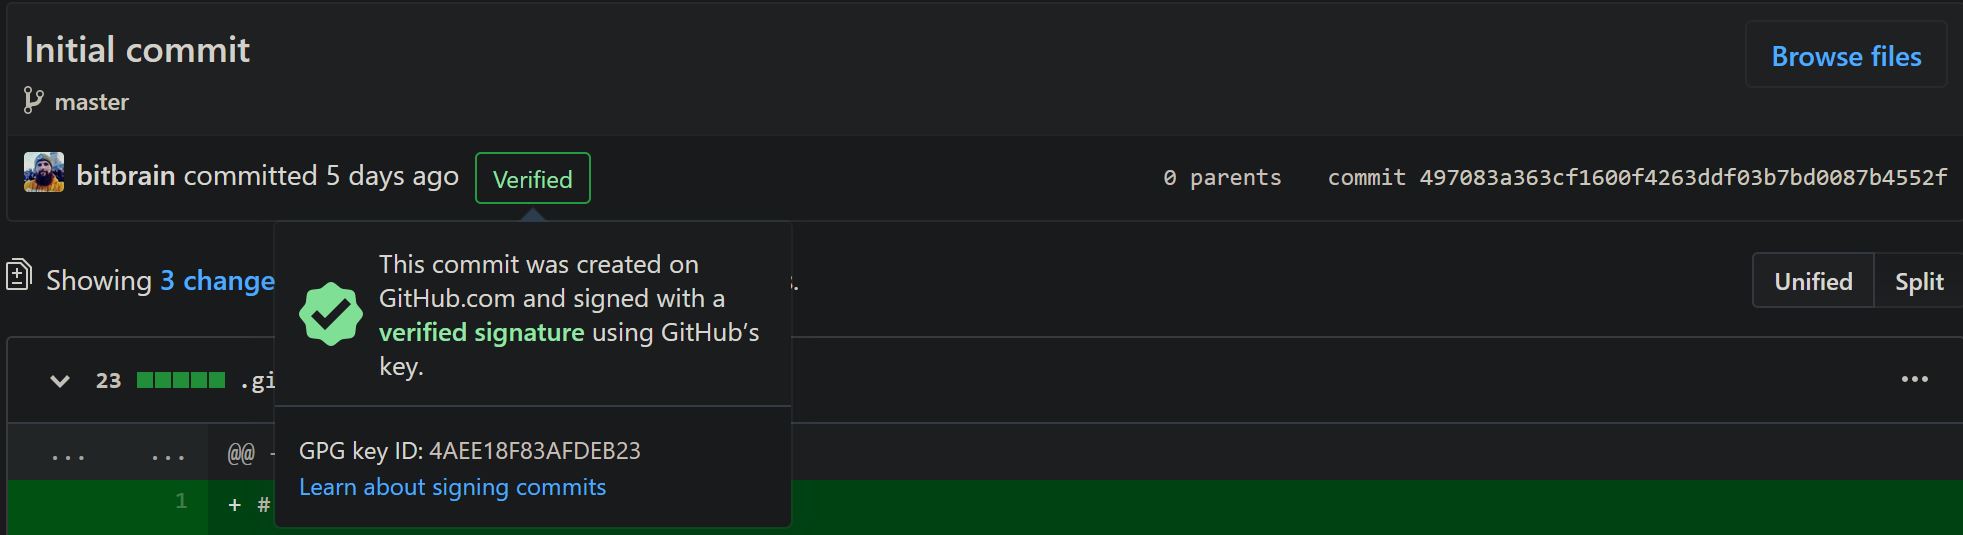
Obviously, using when something like Unity Engine, you’d push the project files of your Unity project.
Plan your time wisely
This is the first critical stage. When I attended my first game jams a couple of years ago, I’d already rush ahead and implement features like health system, fighting, enemies or shooting. Those things are useful and make your game fun, however, now might not be the right time to do this. In my head, it looks a little bit like this:
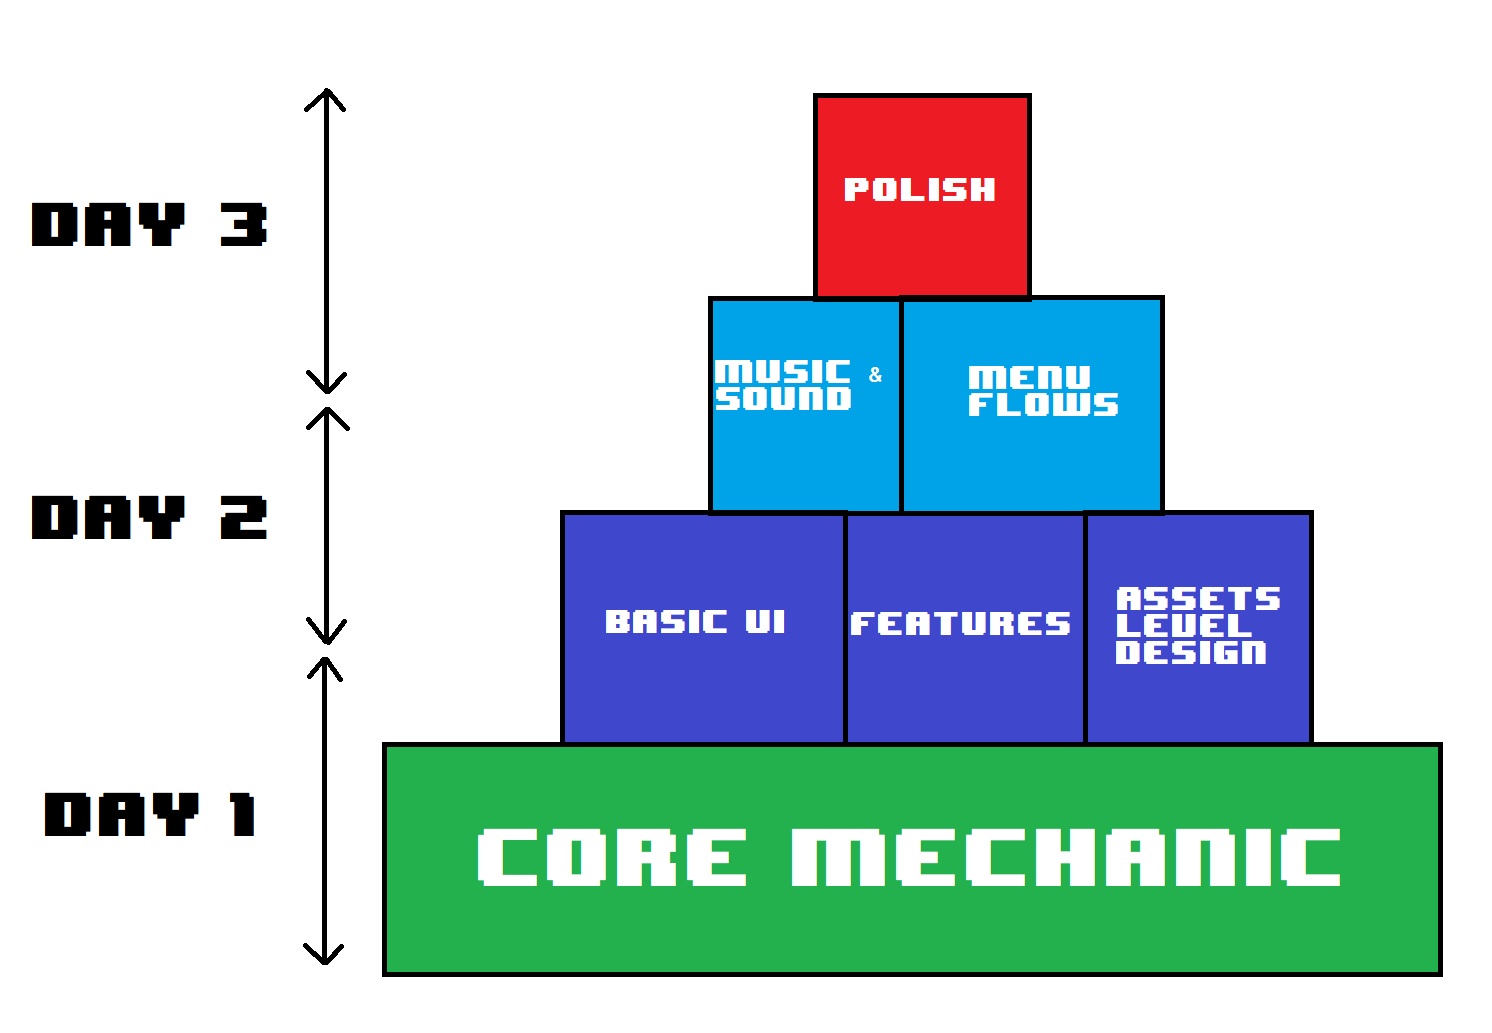
I call this the Gamejam Flow Pyramid (excuse my poor MSPaint skills. Also, arrows are now up to scale). The idea is the following:
- Day 1: working out the core mechanic of your game. After the first day, your game is basically already playable, but most likely is 0 fun since reward systems, UI, assets, etc. are missing. However, mechanically the foundation for your game is set.
- Day 2: Powermode! It’s time to implement all your features, assets and build a basic (functional) UI. At the end of the day, mostly only polishing and nice-to-have features should be left. Also, do not worry about the game loop or menu flow, that’s all for the last day.
- Day 3: Wrapping it up. Time to finish the game loop, build menu flows (logo screen -> main menu -> ingame -> game over, etc.) . Also try to polish your game as much as possible: add particle effects, screen shake, more animations, etc. and add features you think will make the game more fun.
Obviously, this order is just a suggestion and always works for me the best. Also, for multi-disciplinary teams this order can be moved around or things like assets and levels can be prepared already on Day 1 while developers work on implementing game mechanics. On Day 2 and Day 3, artists, writers and composers can then work on polishing existing stuff or extend the game.
Day 1: the dancing man
After setting up my project, I opened my Pyxel Edit to create a simple tileset:
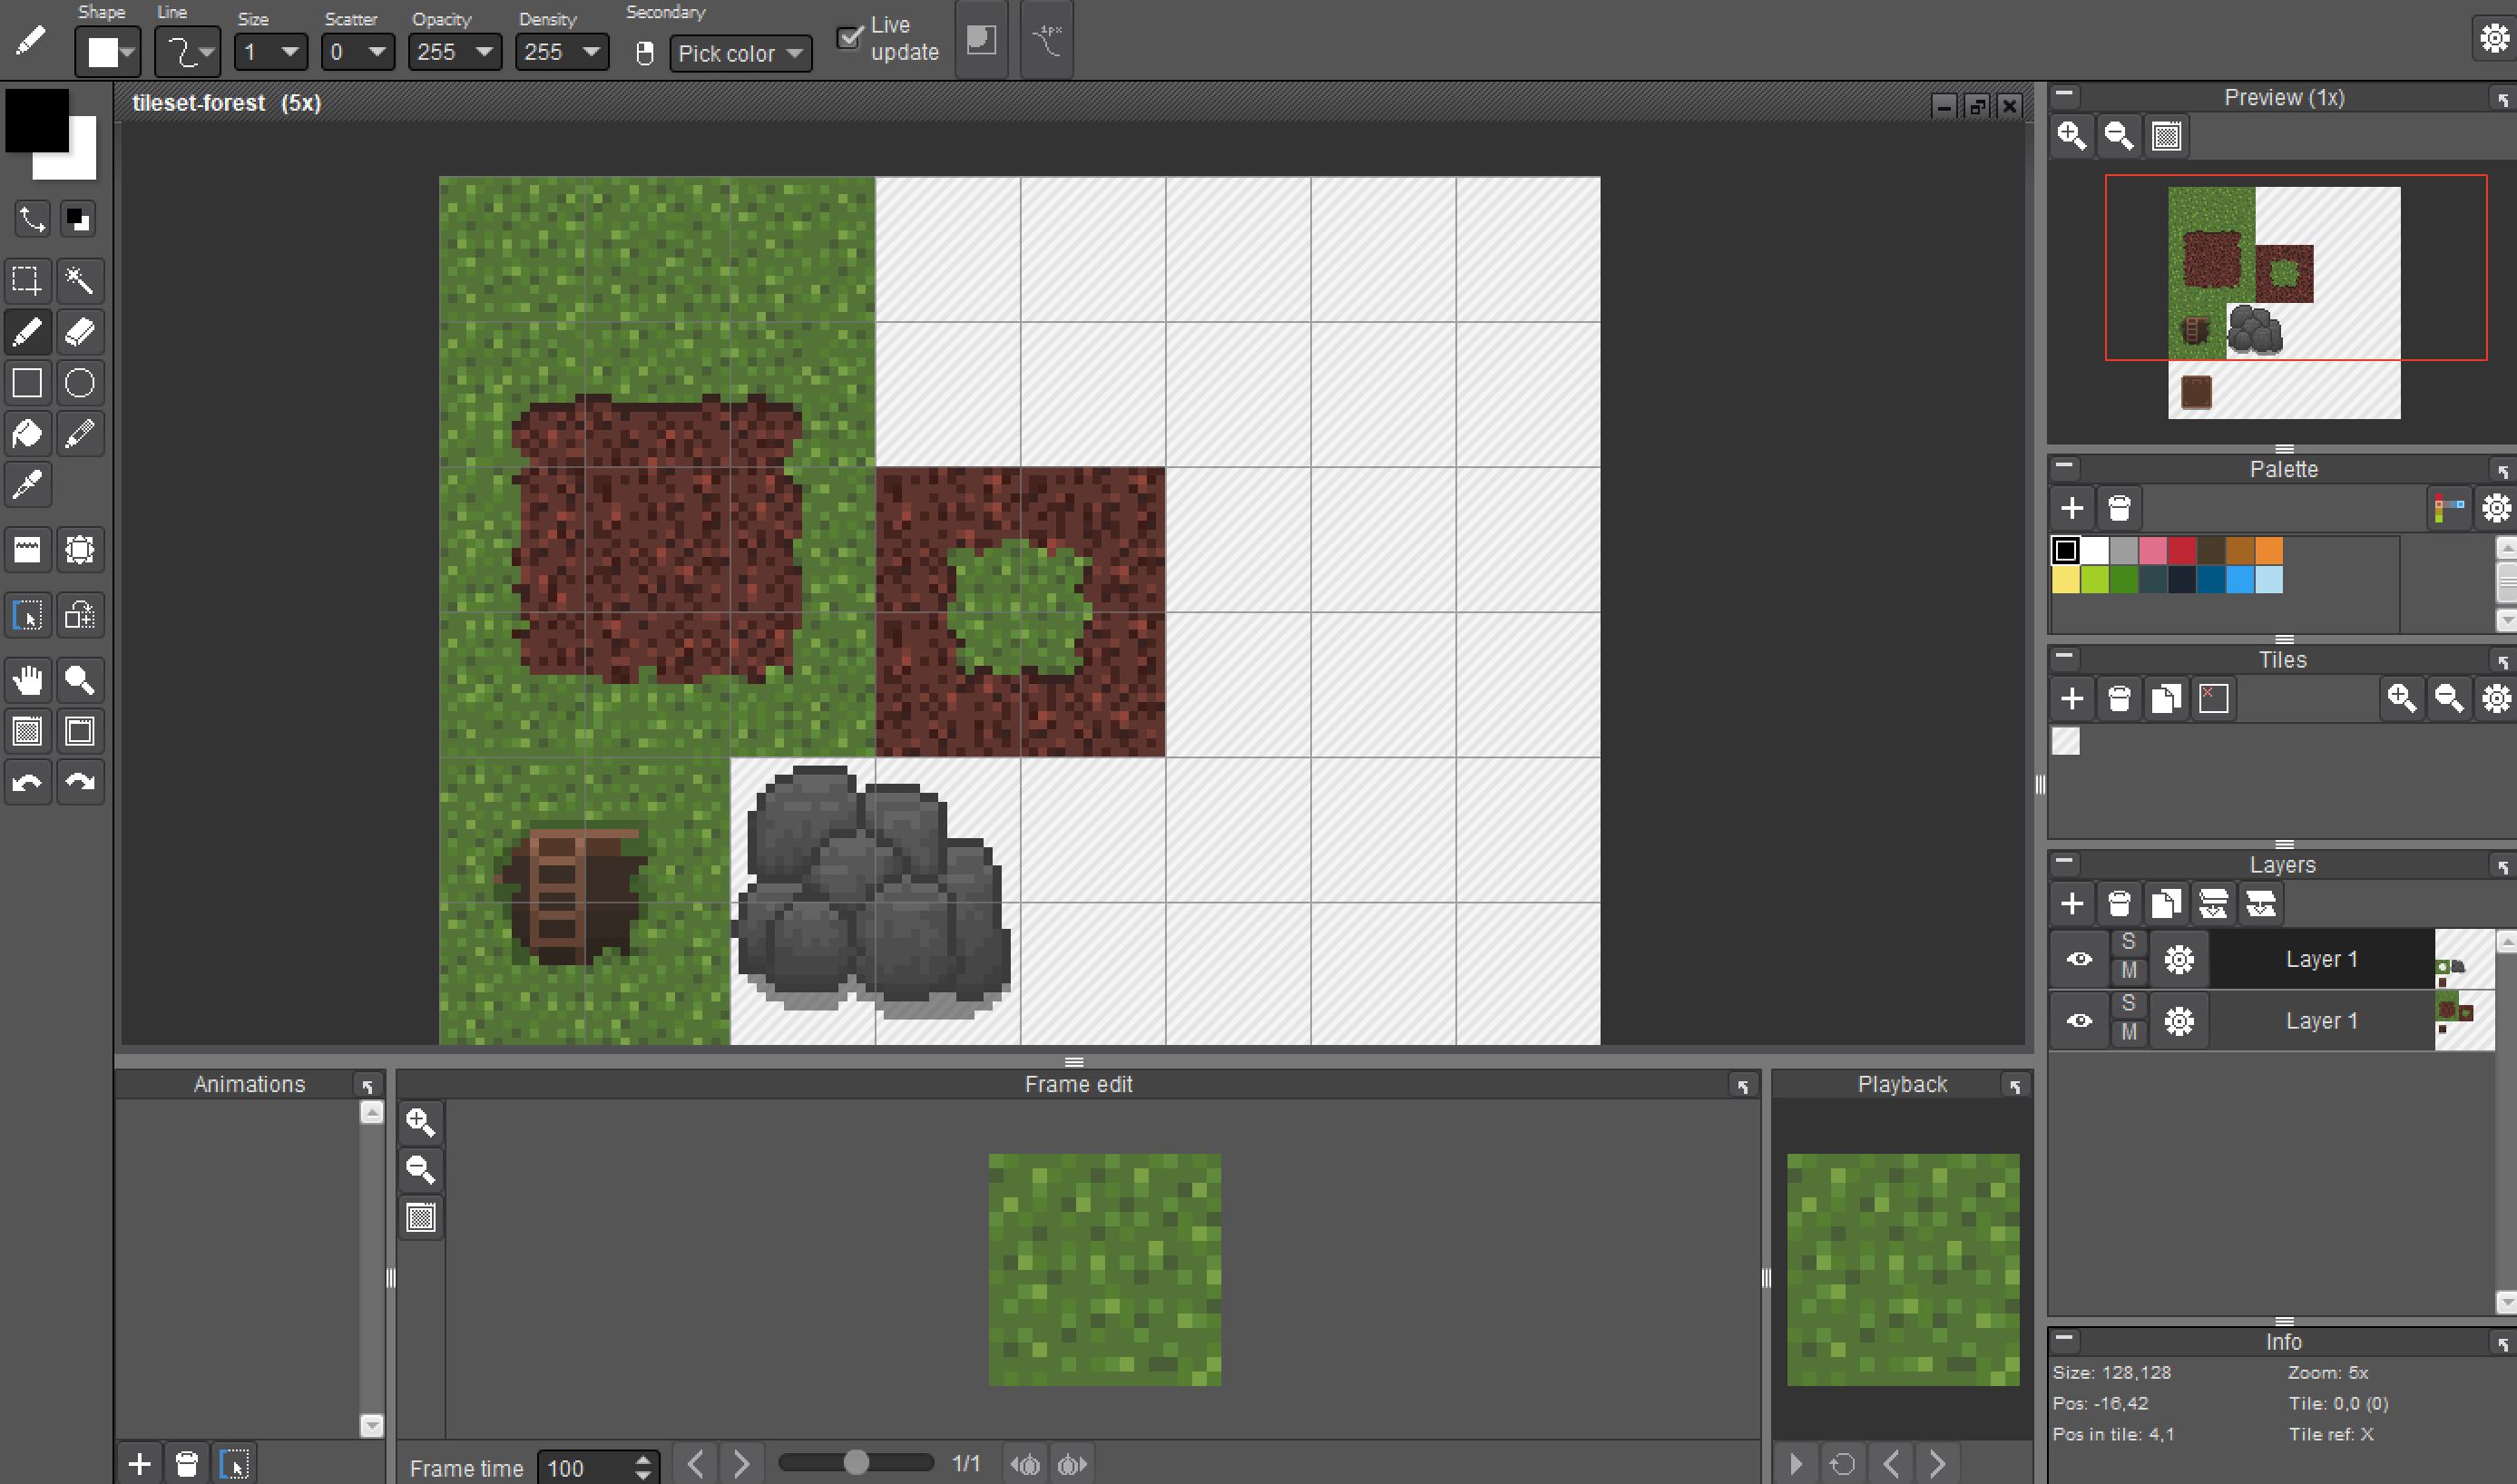
I added a lot of variation to different grass tiles so the game looks okay when walking over a plain of grass. If you haven’t seen tile sets like this yet: Tiled map editor has Terrain support and it makes things so much more easier to build nice-looking maps with the terrain editor:
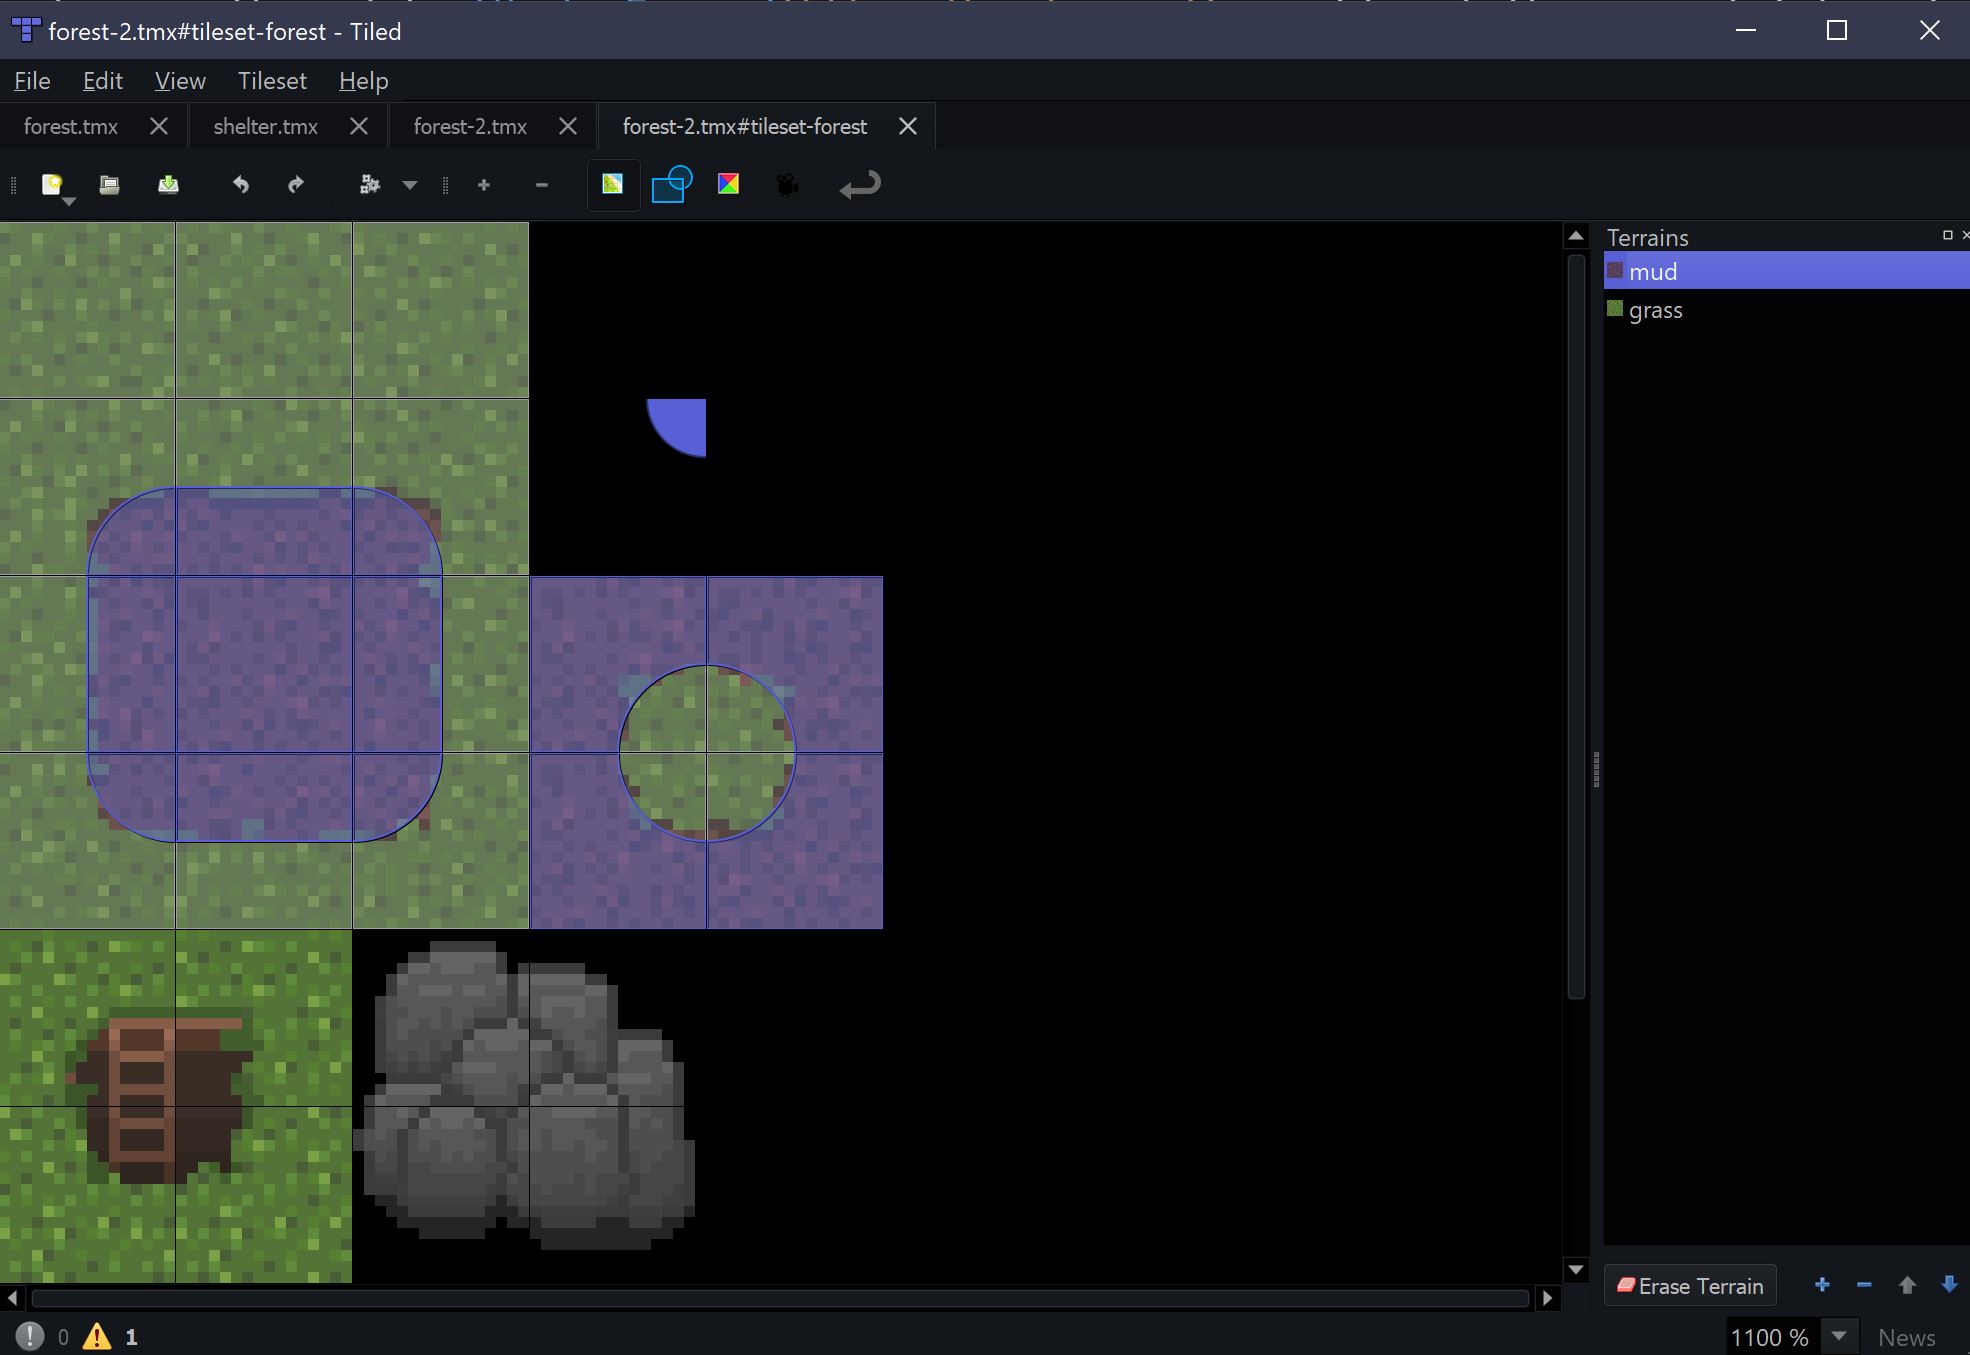
Once the terrain has been defined, you can simply draw terrain within tiled:
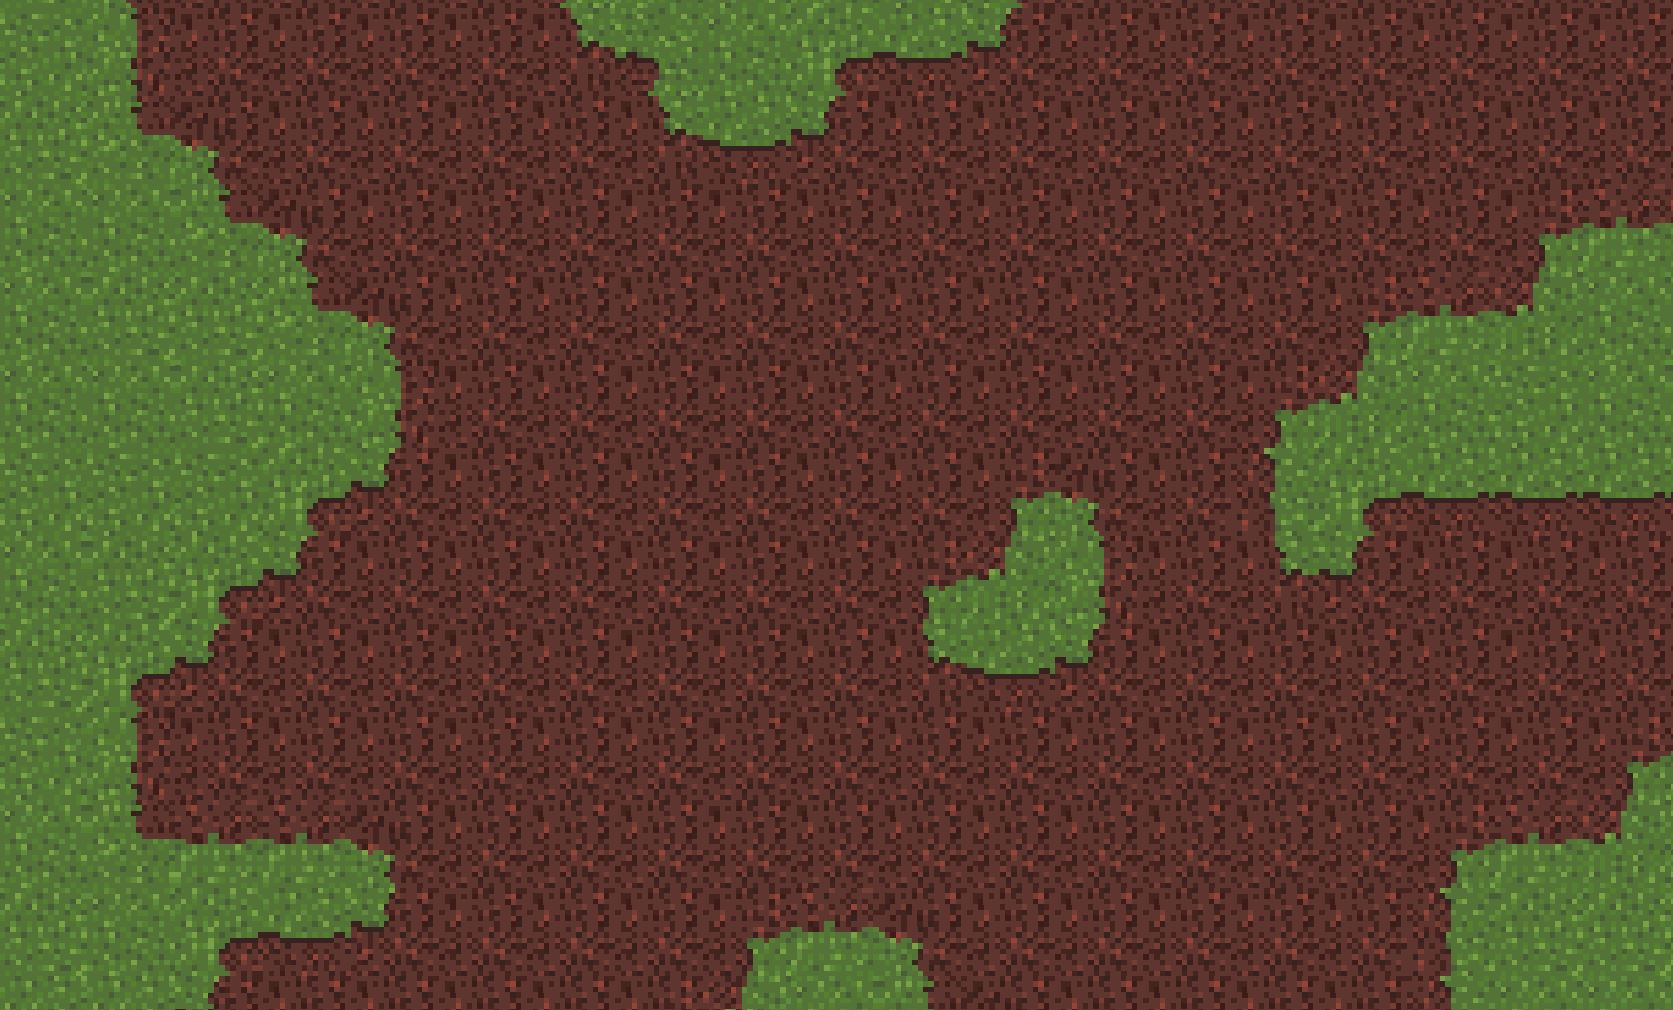
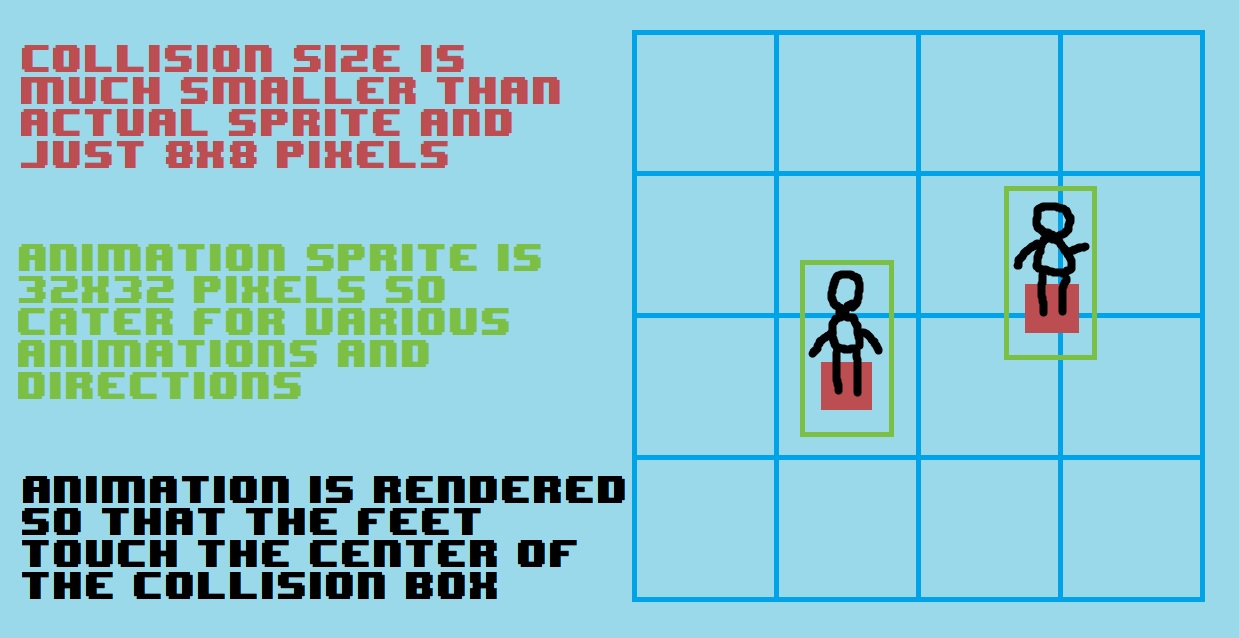
That’s all I needed for level design right now. Time to work on my core mechanic: the walking soldier. To achieve that, I wanted to do a 2.5-dimensional illusion where you can perceive depth:
Next up I created the player tileset. In previous games I always used to have WASD movement and four directions. However, that can be very limiting and I wanted the player to move in ANY direction. That’s why the tileset needs to take diagonal movement into account:
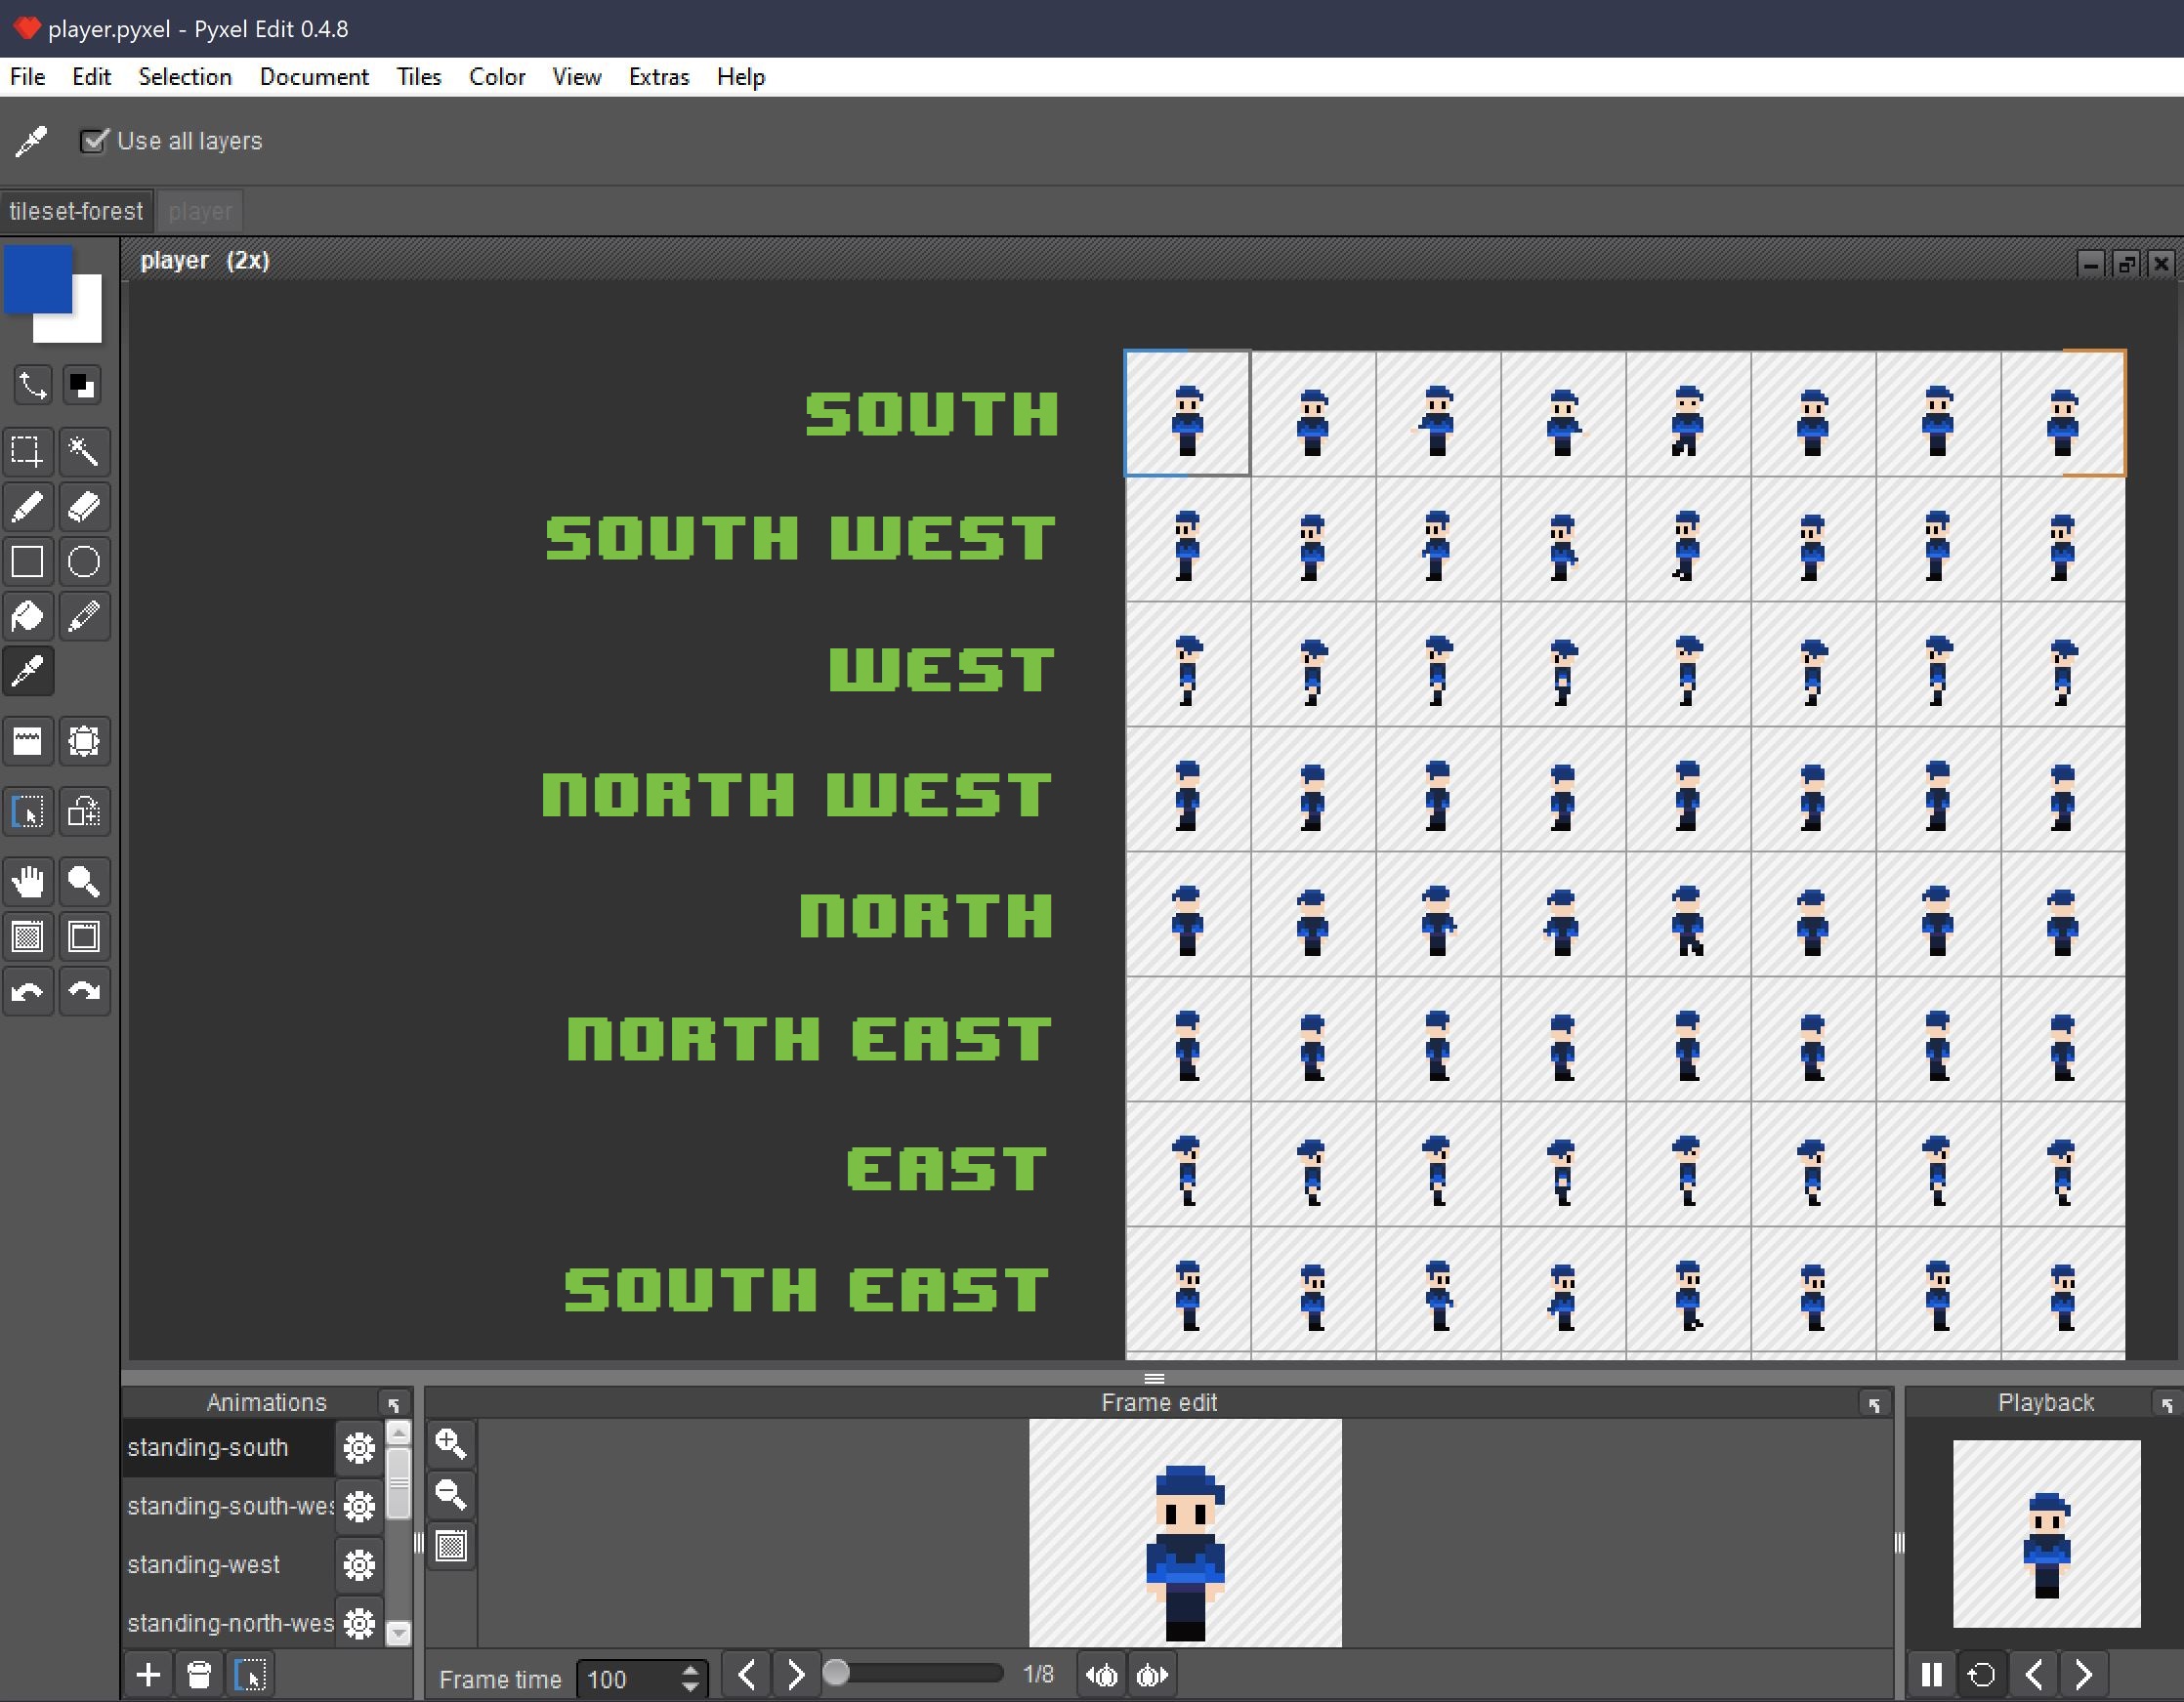
Implementing this into the game with the animation system of my framework braingdx was straight-forward. Here is the result:
Implemented movement 🏃♀️ and rotation 💃
— 〽️ɪɢᴜᴇʟ (@bitbrain_) April 3, 2020
Next up: running animation and weapon system.#gamedev @minibeansjam pic.twitter.com/tZO43xUzBu
Enough for the first day. Time to go to bed! 😴💤
Day 2: zombie apocalypse
The second day was about building out the core mechanics such as implementing shooting and zombies:
Implemented #box2d physics and shadows. Now I can bump into zombies.
— 〽️ɪɢᴜᴇʟ (@bitbrain_) April 4, 2020
Now working on the first weapon, shooting & running animations. pic.twitter.com/MKmT2fP4IH
Making zombies was rather easy: I desaturated the colours of the player texture, painted the skin green and made the eyes red:
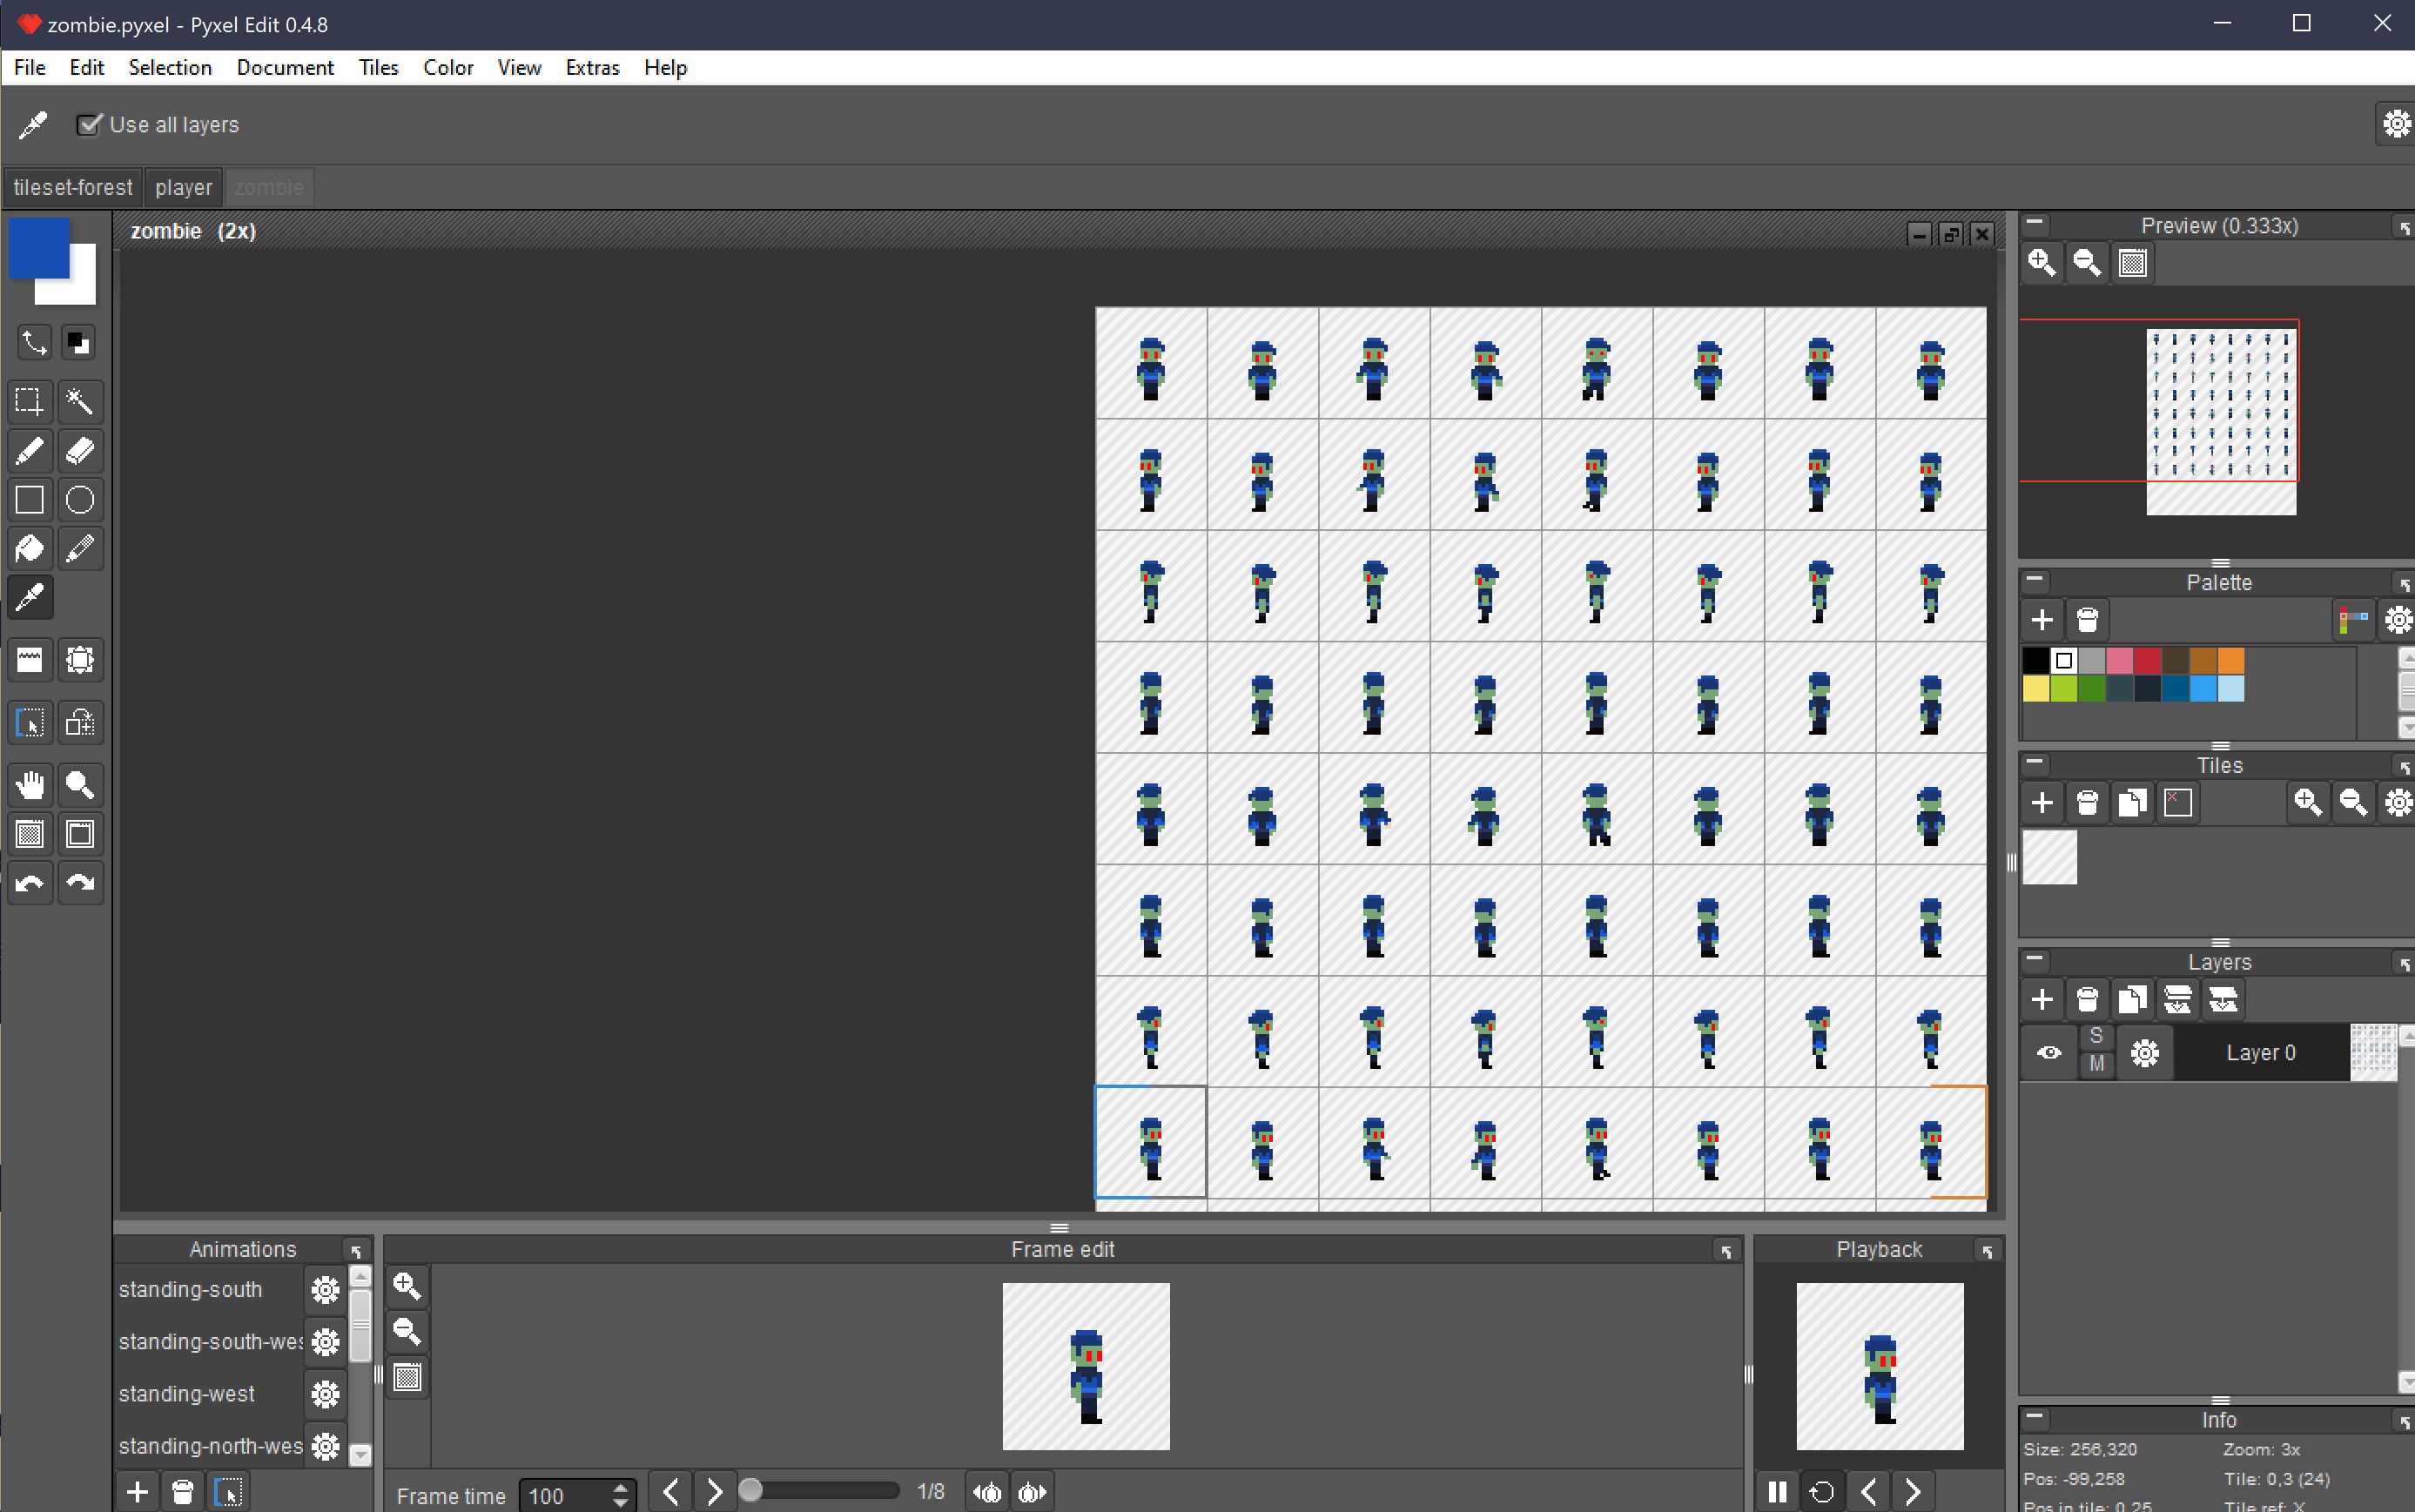
Yes, this means zombies have the same animation as the player, but nobody hopefully notices this! flies away
Shooting in action.
— 〽️ɪɢᴜᴇʟ (@bitbrain_) April 4, 2020
Next up: making zombies aggressive and more animations.#minibeansjam5 @minibeansjam pic.twitter.com/TicPbc33EI
After implementing shooting zombies and a health system, it was time to do something entirely different: composing a soundtrack. Since I wanted to save time and I was all on my own, I had to do a few design decisions before composing:
- the track should be repeatable without noticing and should not become boring
- the track should be rather ambient based
- the game is action-based but I wanted to keep it horror, so it should not have any percussion work
I spun up my Ableton and came up with this:
I added tons of base and reverb to give a sense of loneliness. Also notice those weird tones towards the end? That’s me just randomly punching my MIDI keyboard.
Day 3: taking shelter
On the last day I recorded various sound effects myself:
- zombie sounds by moaning into the microphone and pitching it
- footstep sounds by shaking my leather jacket
- shot impact sounds by squishing a wet towel
- door sounds by opening and closing one of our old doors and adding reverb
Also, there are more sound effects I downloaded from the internet since it was rather difficult to record them myself:
- death sound
- explosion sound
- reload sound
- weapon shoot sound
Last words
That’s how I built the game. Obviously, there was much more stuff done on the code front. Checkout this video to see all the code I wrote during this project:
I just want to thank the other participants for their amazing games (I played them all!) and also give special thanks to Dima (Dmitrij Chotin) for organising this great event. Hey, follow him on Twitter! He built an amazing game, too.
Oh! I almost forgot! You can play the game here: