He occasionally blogs about software design, continuous integration and game development with Godot Engine.
Host your own blog with Jekyll and Github Pages
Github allows you to host your own websites via Github Pages. With a tool called Jekyll you are able to create pages for your website written in Markdown. Let us explore how we can set up our own blog hosted on Github Pages. Additionally, let us configure a custom domain for our website! This very blog is hosted exactly that way!
Prerequisites
- make sure that Jekyll is installed
- make sure that git is installed
- make sure that you have a Github account
1. Repository setup
Create a new repository in Github that follows the following naming convention and initialise it with a main branch:
<your-username>.github.io
This repository will host both our source files (Jekyll) and will also contain a branch that contains the generated files for Github pages. Once checked out locally, let us create a custom orphan branch like this:
git checkout --orphan gh-pages \
&& git commit --allow-empty -m "initial commit" \
&& git push -u origin gh-pages \
&& git checkout main
Then head into Settings->Pages of your repository in Github and set your source branch of Github pages:
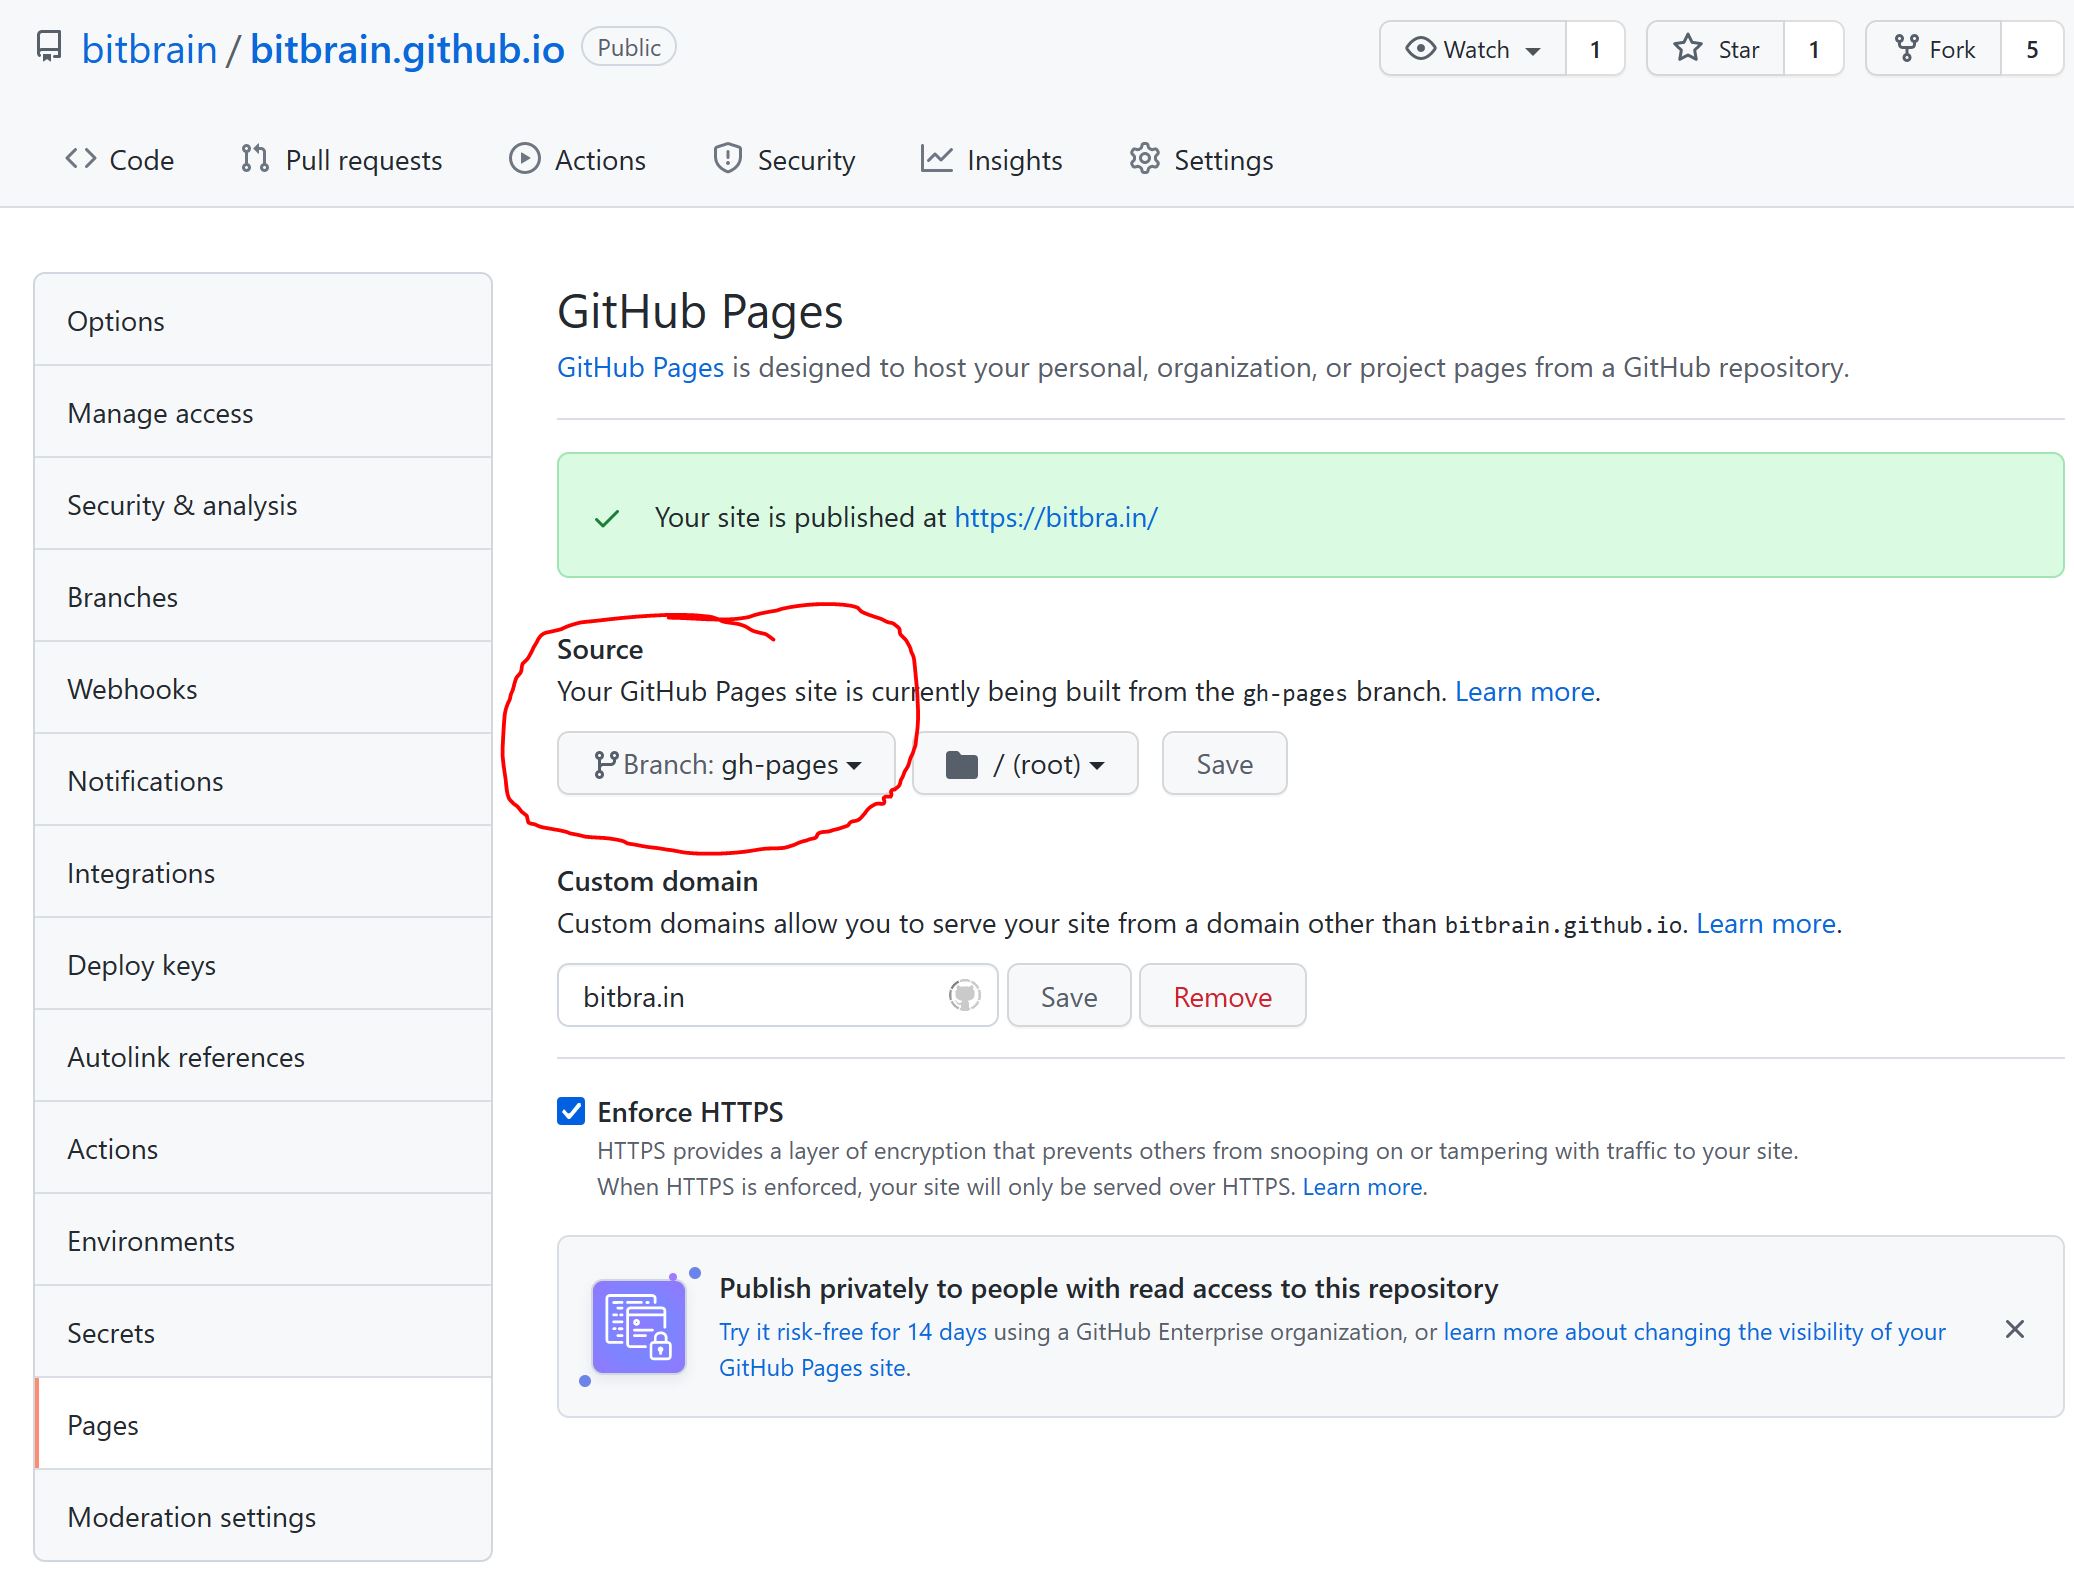
This will ensure that Github looks up any content on that branch and serves it automatically at the following url:
https://<your-username>.github.io
2. Jekyll setup
Next up, let us configure Jekyll on the main branch. Keep in mind that main has a different git history to gh-pages. We will not directly commit anything to gh-pages - instead, we host all the Jekyll files on the main branch only and let the Github Action do the rest!
Let us configure Jekyll by generating a new site:
jekyll new --skip-bundle .
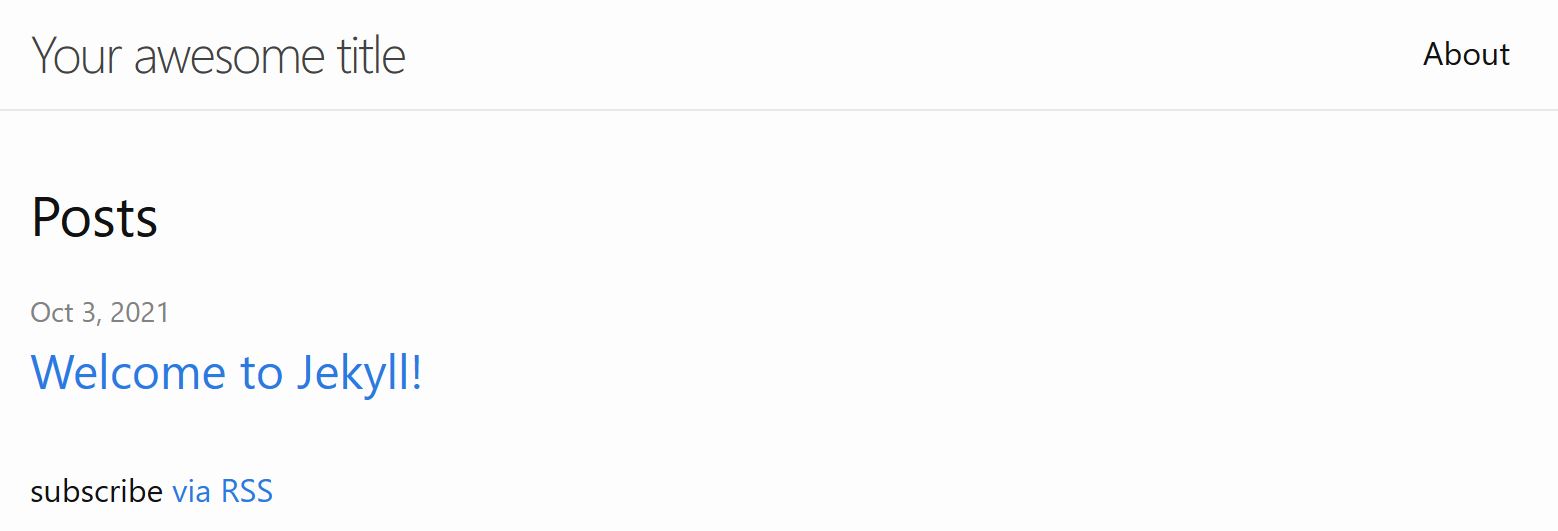
(optional) build and test the Jekyll site locally:
bundle install && jekyll serve
and then head over to http://127.0.0.1:4000 to view your page locally:
push your Jekyll site to Github:
git add -A \
&& git commit -am "setup Jekyll blog" \
&& git push origin main
3. Github Action
The Jekyll source files are sitting now on the main branch but we want to automatically build our website like we used to do earlier locally. For this we will use a Github action. This action will build our website and then force-push it to the gh-pages branch.
Create a new file under the folder .github/workflows/github-pages.yml. Github will look for any files hosted in the .github/workflows folder and run a so called action. Within that file, define the following:
name: Build and deploy Jekyll site to GitHub Pages

on:
  push:
    branches:
      - main

jobs:
  github-pages:
    runs-on: ubuntu-latest
    steps:
      - uses: actions/checkout@v2
      - uses: helaili/jekyll-action@v2
        with:
          token: $
          target_branch: gh-pages
This action will automatically take care of building your Jekyll page and pushing it to the gh-pages branch. Before this works we need to define a custom github token, as the default GH_TOKEN will not work within actions.

Make sure to set this token to never expire and assign the following permissions:
- repo
- workflow
- write:packages (optional)
- delete:packages (optional)
ATTENTION! NEVER reveal any of your tokens or hardcode them into your code. Hackers will use them to compromise your account!
Copy the token that is shown and define a new secret within your repository called CUSTOM_GITHUB_TOKEN:

Next, push your changes to your repository:
git add -A \
&& git commit -m "Setup workflow" \
&& git push origin main
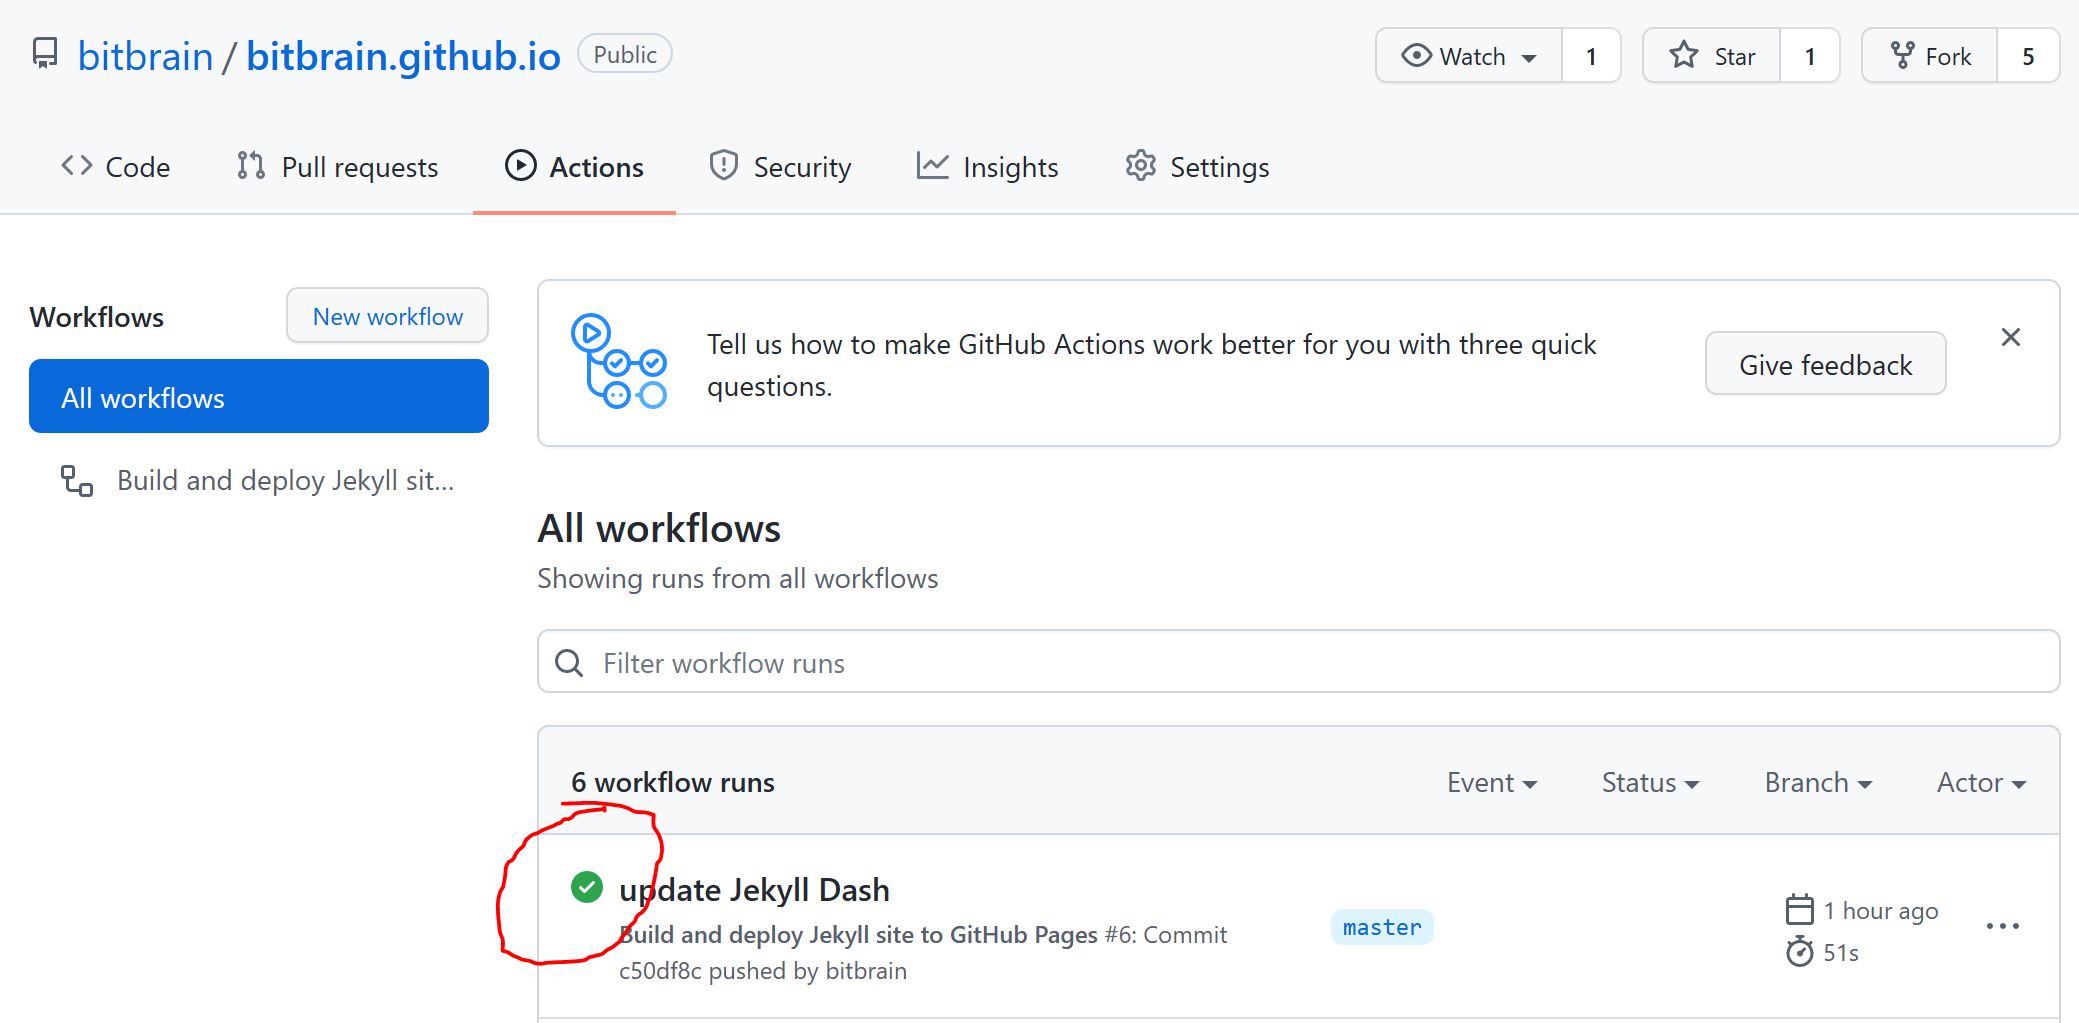
Within your repository on Github you should now seen a new action getting triggered:
4. (optional) Setup custom domain
Having a long url such as https://bitbrain.github.io works but does not look very good on your CV. You can setup a custom domain like I have: https://bitbra.in this page is hosted on Github Pages but has a custom domain setup.
Create a new file called CNAME that contains your domain, for example:
bitbra.in
and commit and push that file. Now, head to Settings->Pages to setup your domain:
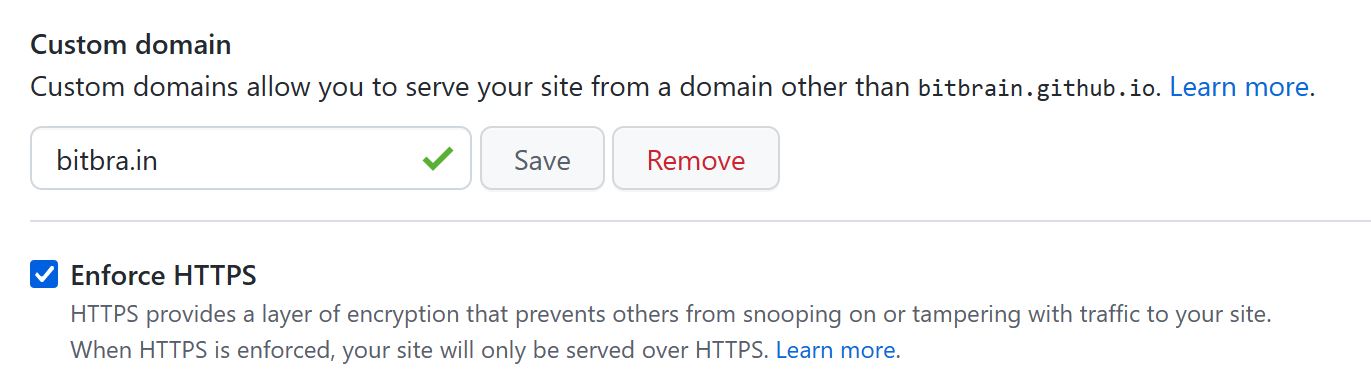
This will only work if you own the domain and you configured your CNAME entry correctly within your domain provider. Follow this guide to learn how to set up your custom domain within AWS.
Conclusion
Let me know in the comments if you face any issues so I can keep this guide up-to-date! If you want to use the custom Jekyll theme of this blog, feel free to checkout this guide!